GO-REST Builder
To create a new custom application, follow the steps available @ Create Custom Application
Server Requirement
RikData REST Builder is a Golang based application that uses dynamic entity definitions to map existing tables to map objects. As entities are created dynamically, you can configure all the objects as per your business requirement.
Ex: If your custom legacy application has 1000s of tables, but you want to expose only a few hundred tables and some columns of those tables using REST APIs, you can configure the REST builder to expose only those tables and fields. It also allows you to control Primary Fields, Required Fields, Insert Ony/Update Only Fields, OneToMany, ManyToOne mapping, etc.
config.json

The application uses two database connections: one for any legacy application (ex: Oracle EBS) and a second one for a database that the application uses to store internal data. You can use your EBS database for both purposes. However, that's not advisable.
Change your database connection details before you start the application.
Enter your Oracle EBS environment database details in the config.json file
     "database": [
    {
      "dbConnName": "OracleEBS",
      "dbType": "Oracle",
      "host": "localhost",
      "portNumber": 2600,
      "dbName": "r12",
      "userName": "userName",
      "password": "password",
      "connPoll": 3,
      "maxConnPoll": 1000,
      "defaultRowLimit": 5
    },
    {
      "dbConnName": "lMes",
      "dbType": "MySQL",
      "host": "localhost",
      "portNumber": 3306,
      "dbName": "lMes",
      "userName": "lMes",
      "password": "lMes",
      "connPoll": 5,
      "maxConnPoll": 10,
      "defaultRowLimit": 5
    },
    {
      "dbConnName": "Oracle1",
      "dbType": "Oracle1",
      "host": "localhost",
      "portNumber": 3400,
      "dbName": "r12",
      "userName": "userName",
      "password": "password",
      "connPoll": 3,
      "maxConnPoll": 1000,
      "defaultRowLimit": 5
    },

    {
      "dbConnName": "TimeSheet",
      "dbType": "MsSql",
      "host": "localhost",
      "portNumber": 1433,
      "dbName": "timesheet",
      "userName": "timesheet",
      "password": "welcome1",
      "connPoll": 5,
      "maxConnPoll": 10,
      "defaultRowLimit": 5
    },
    {
      "dbConnName": "PostgreSQL",
      "dbType": "PostgreSQL",
      "host": "localhost",
      "portNumber": 5432,
      "dbName": "peppol",
      "userName": "postgres",
      "password": "welcome1",
      "connPoll": 5,
      "maxConnPoll": 10,
      "defaultRowLimit": 5
    },
If you want to use any other MES/QMS/PLM/ERP system with RikData OneApp, enter the database information for that application and generate the corresponding Menus and Paths.
        "MySQL" : {
            "host": "localhost",
            "portNumber": 3306,
            "dbName": "xmes",
            "userName": "root",
            "password": "password",
            "connPoll": 5,
            "maxConnPoll": 10,
            "defaultRowLimit" : 5
        },

The application uses SQLite for internal data storage, and it's advisable not to change any information for the internal database.
Start/Stop Server
The executables are available for Windows, macOS, and Linux. You can start the server like any other application. You can stop the server using OneApp Desktop/Mobile client. You can also send a REST request to Your host/stop to stop the application. To send a stop request, you must have admin authority.
Validate Server Status
The REST application is based on standard Golang net/http and doesn't use any third-party library. When the application starts successfully, the console will show a message stating the application is running on port 8080 (the port you have mentioned on the config.json file).

By default, the application starts with a lazy load. So, when you open the application from a client (Mobile app, browser, windows app) for the first time, it might take a few seconds to initialize. The initialization is done only once for the server. So, the admin who starts the server must connect to the application from a client before releasing it to other users. Else, the first user will face some delay.
After the application is successfully started, you can open the application URL on a browser to check if the application is running or not.
http://server:port/
http://localhost:8080/
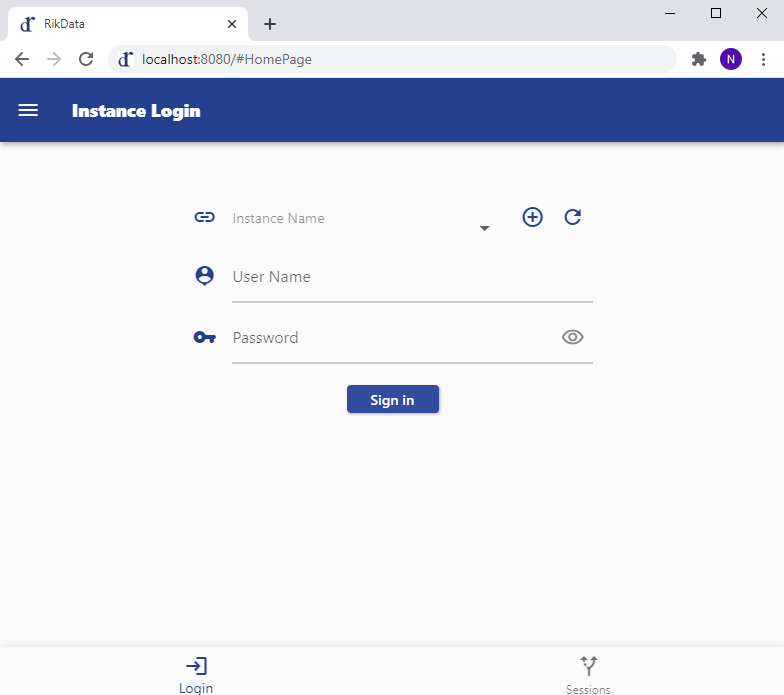 > The web version of the application is experimental and not production-ready. Always use the Desktop client (Windows or MacOs) or Mobile Application (Andriod / iOS)
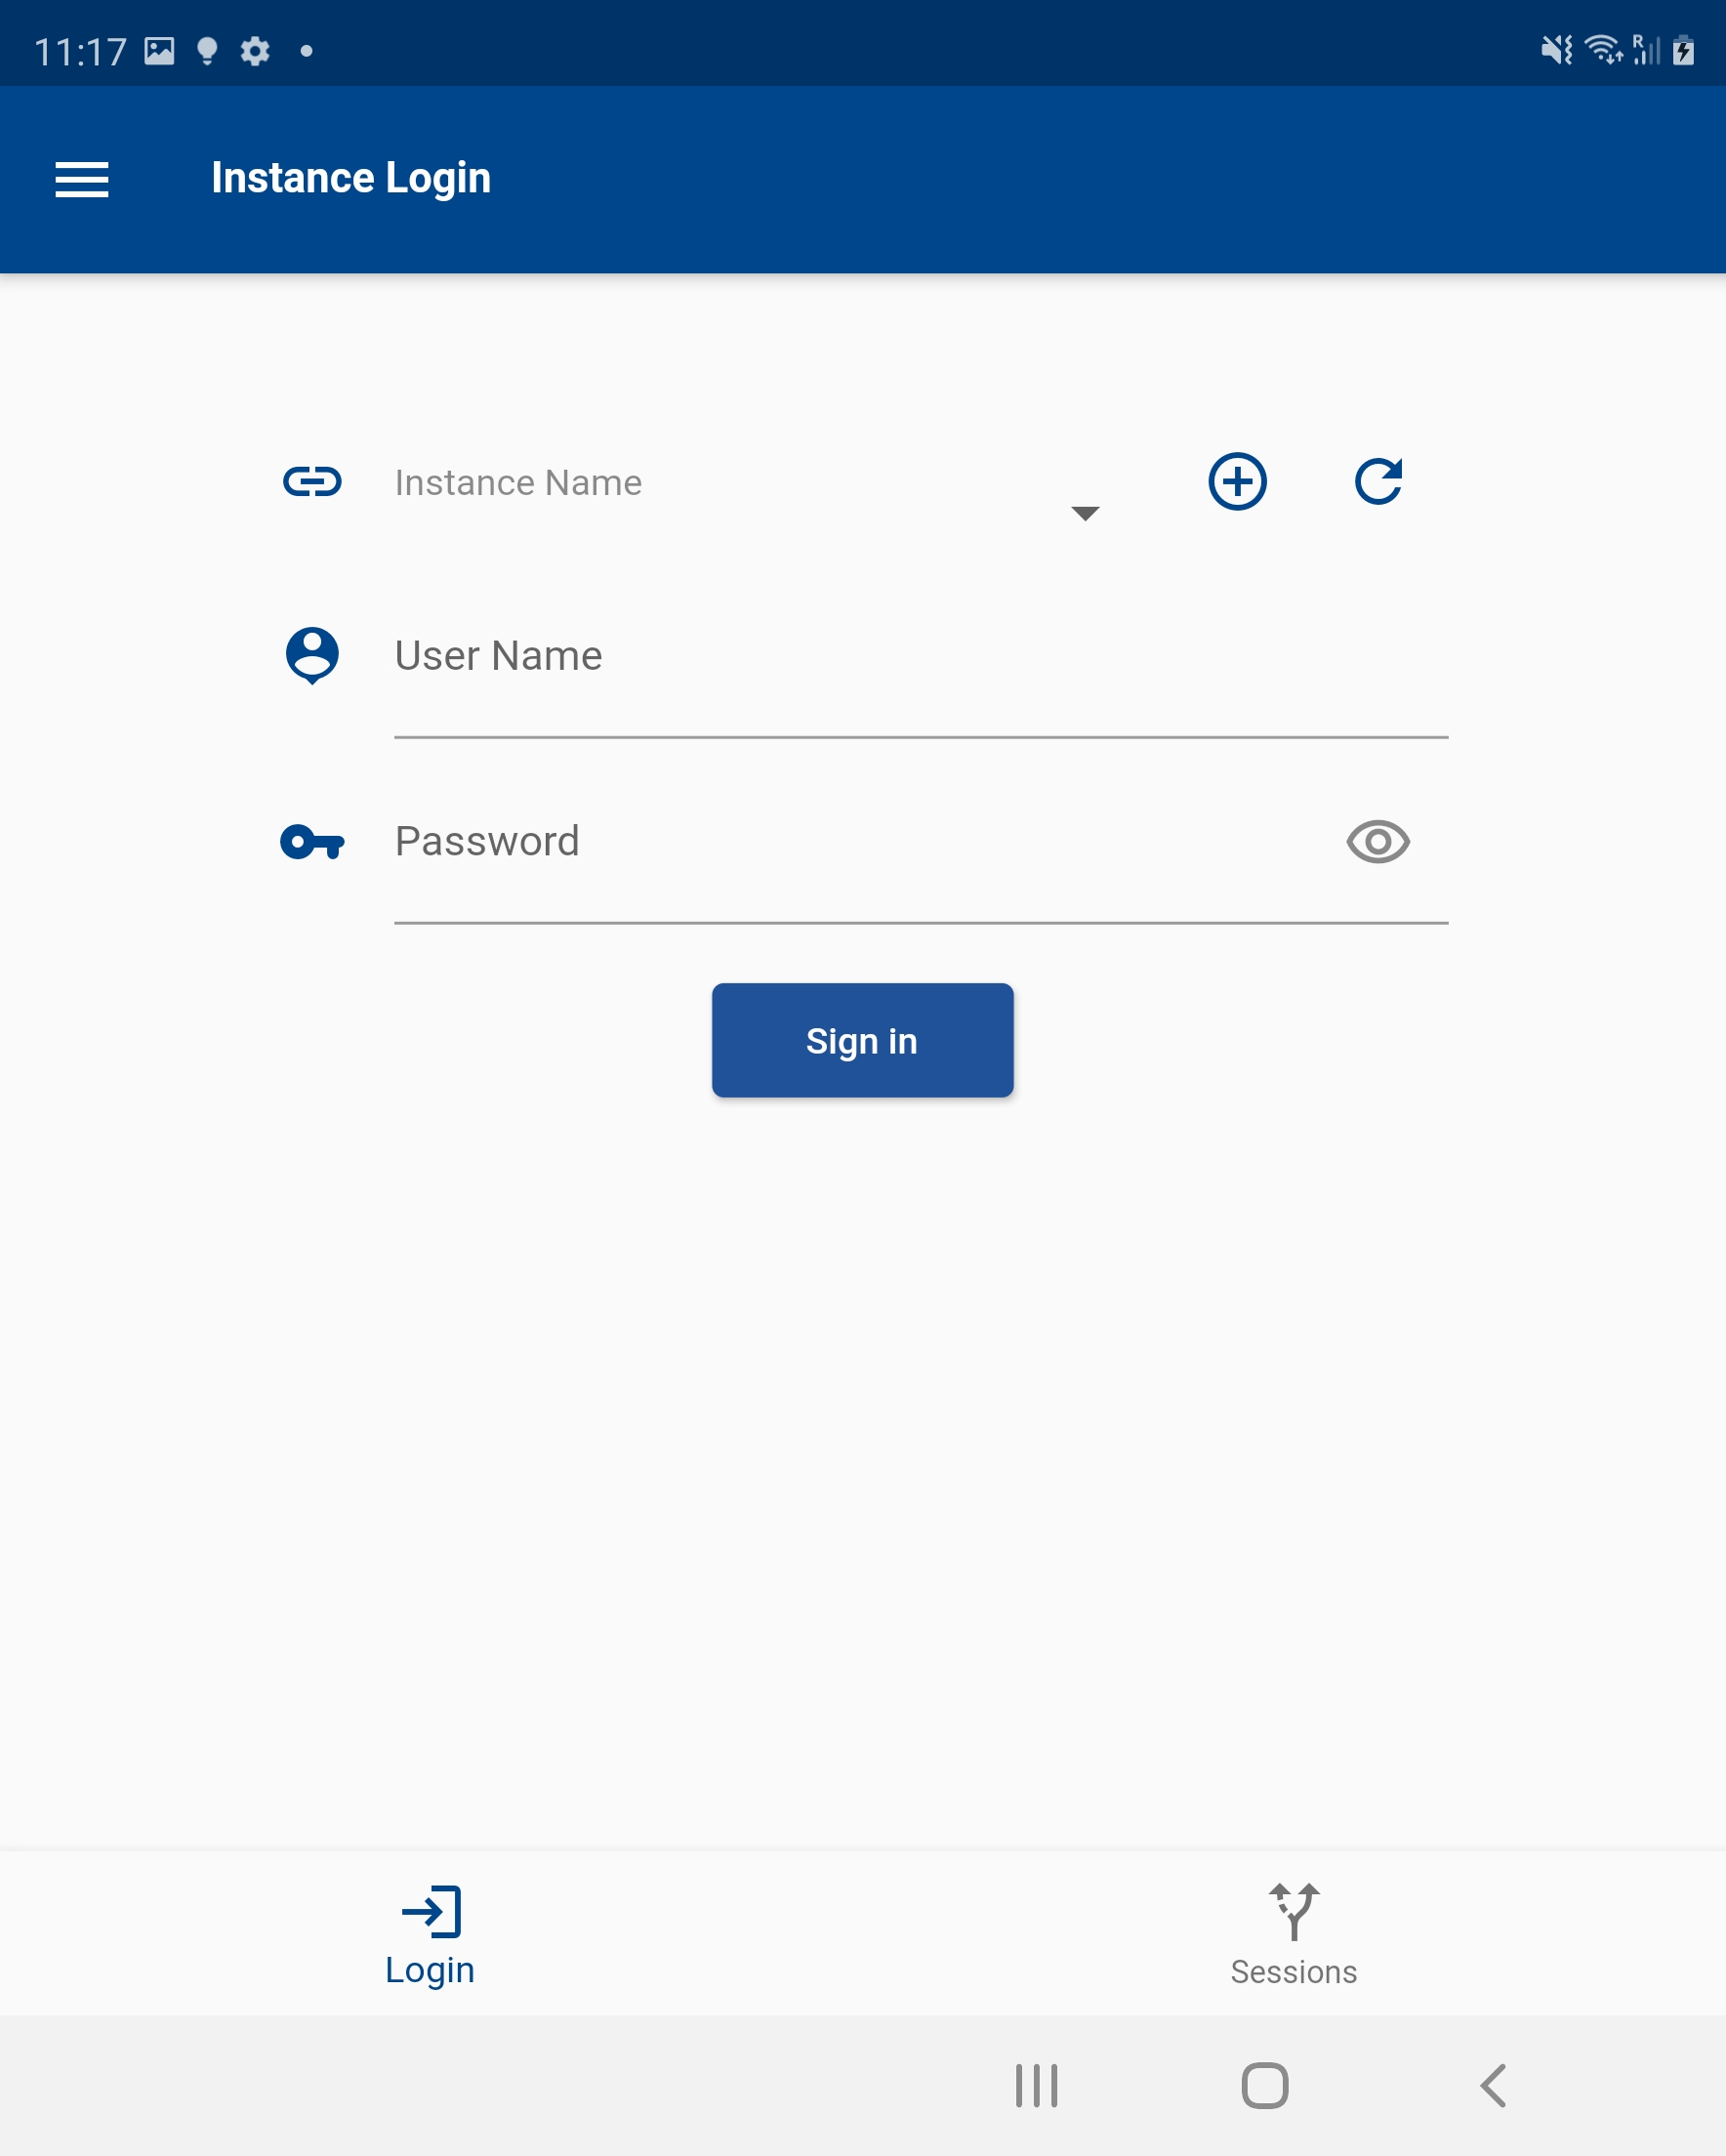 ## Reset Password
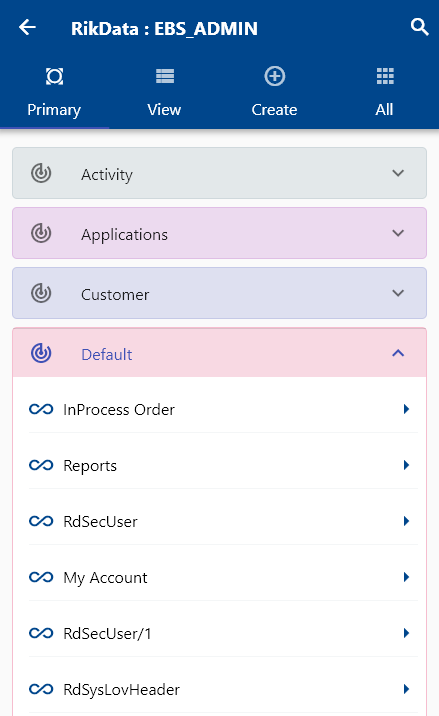
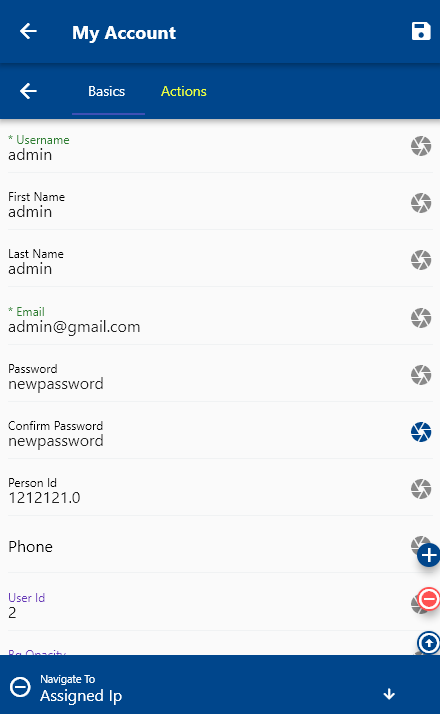
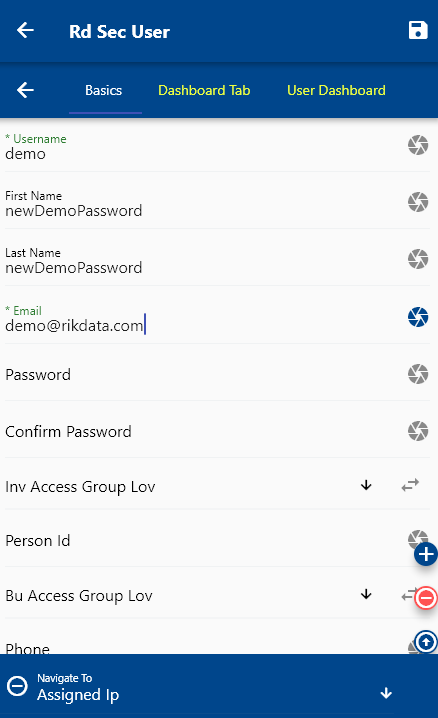
You can reset the password by navigating into my account.
Enter the password and confirm the password. Click on the Save button.
You can also reset the password for other users by navigating into the Users screen. You need to log in to the application using the admin username or a username with an admin role to reset passwords for other users.
Enter the user name in the search form and click on the search button.

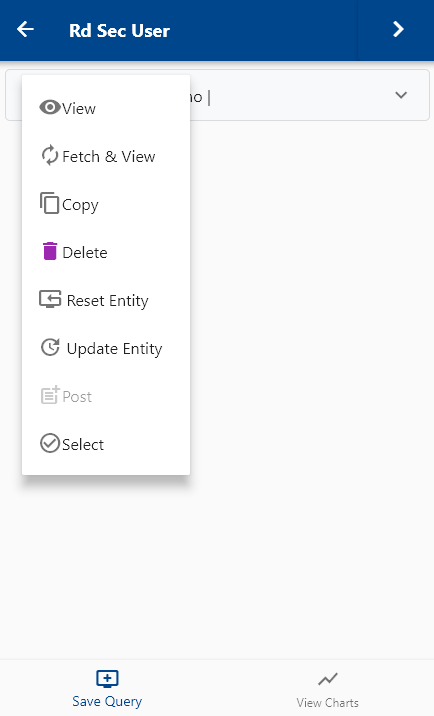
click on view or fetch and view
Enter the password and confirm password fields. Click on the Save button.
Assign/change Role
To assign a new role or change an existing role, navigate to the user search form. Enter the user name in the search form and click on the search button.
Click on view or fetch and view.
Scroll right to the role tab.
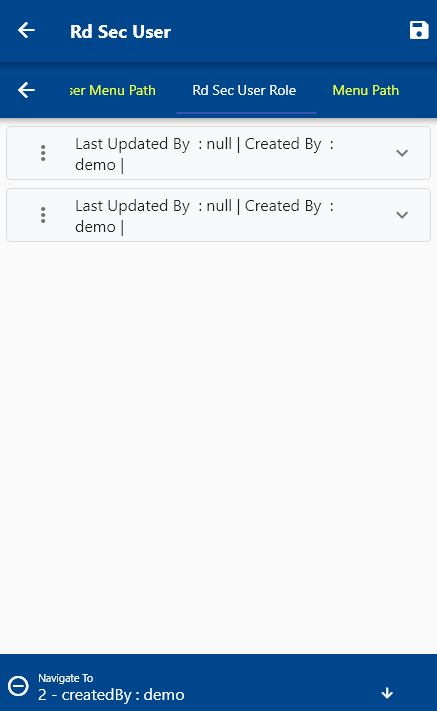
The role tab lists all the roles assigned to a user. Click on the expand button to view role details.
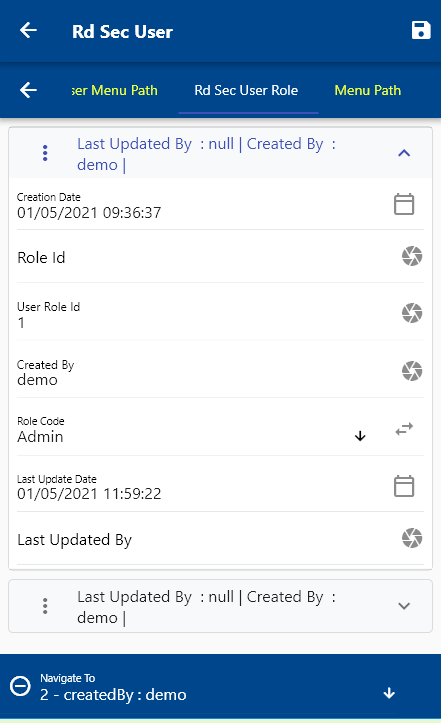
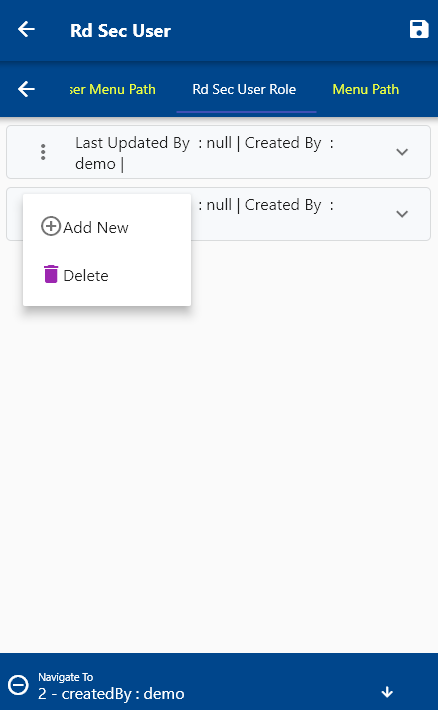
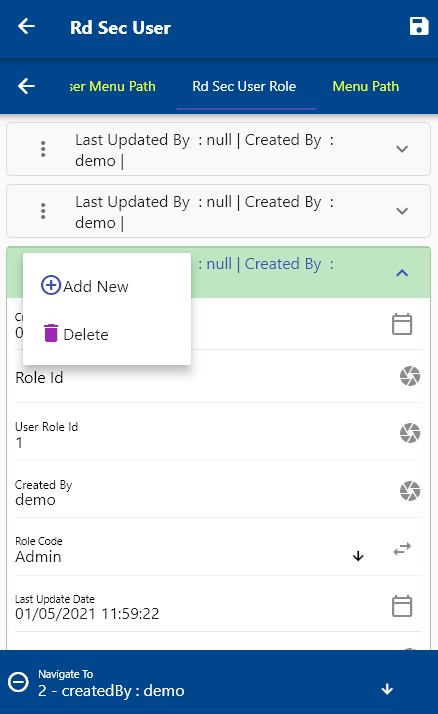
To assign a new role, click on the add button.
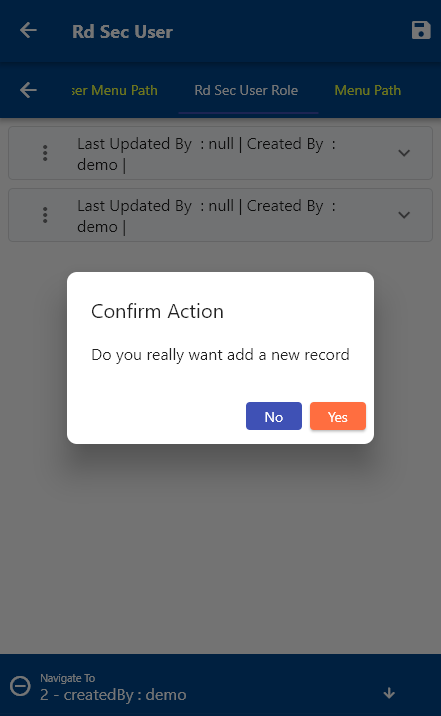
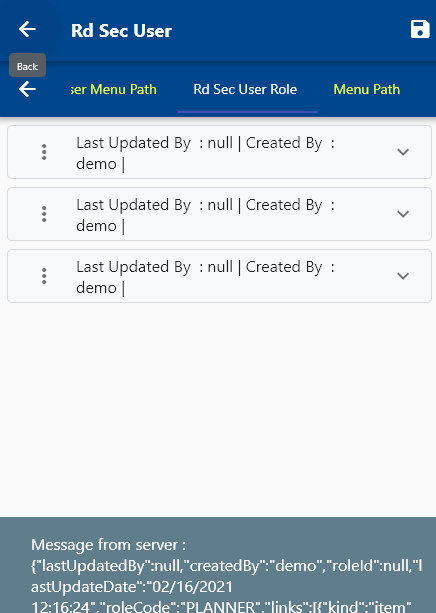
The application will copy the selected role and will create a new role record.
Click on the newly added role record and change it to a different value.
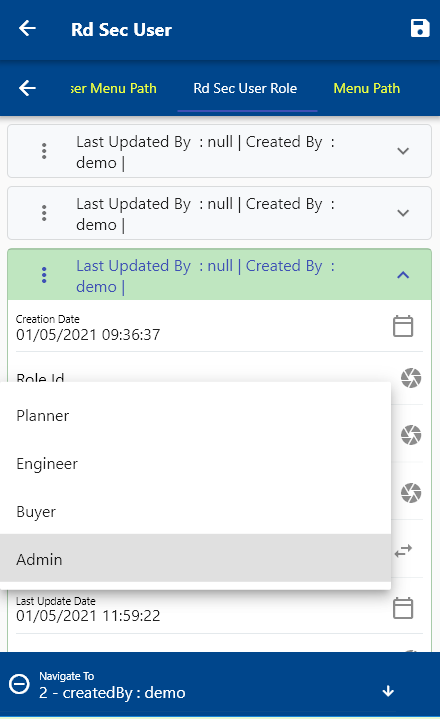
Click on the Save button.
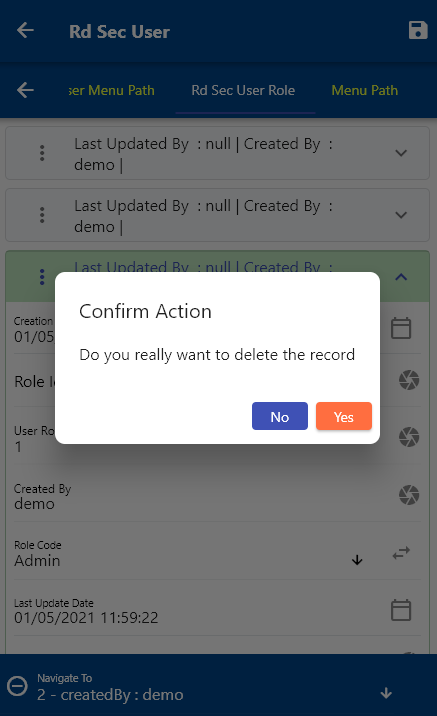
To remove a role, click on the delete button against the role.
Click on yes, to delete the role. Click on no to cancel the action.
Role
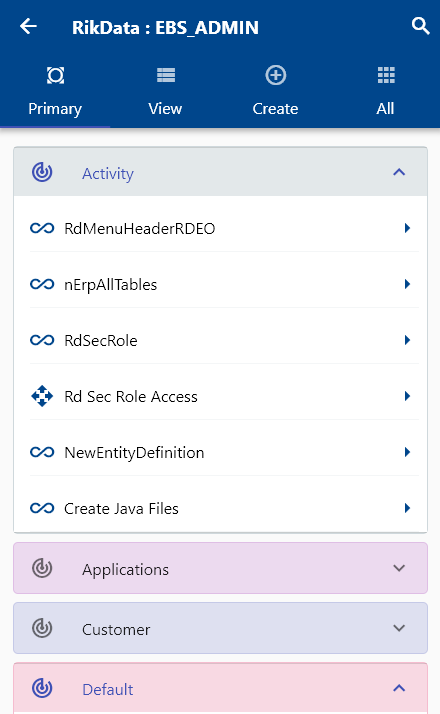
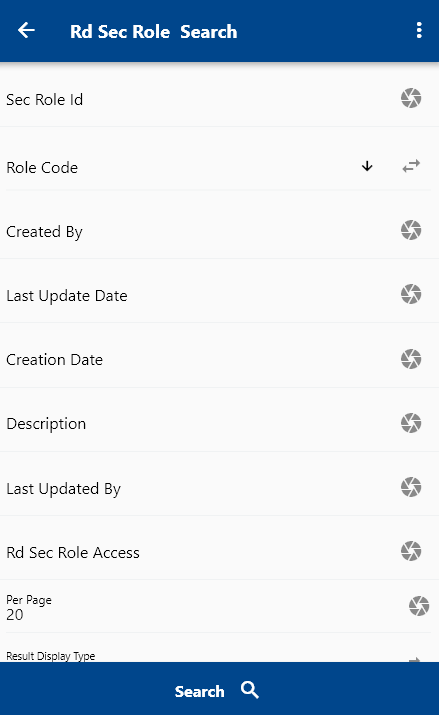
Navigate to the role search screen to create/view/update a role
Enter a value in any of the search fields and click on the search button.
The app will fetch the data from the server and will take you to the search result screen.
You can select the result format - table or list - before clicking on the search button.
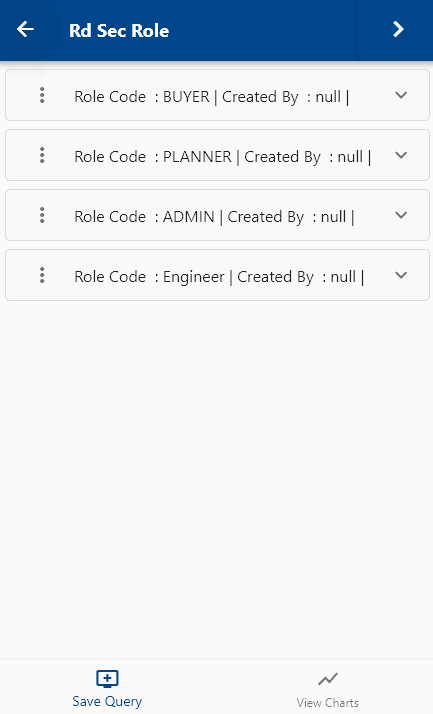
Click on the expand icon against a role to view the details in the search result screen. Click on View / Fetch-View to view and update the details of a role.
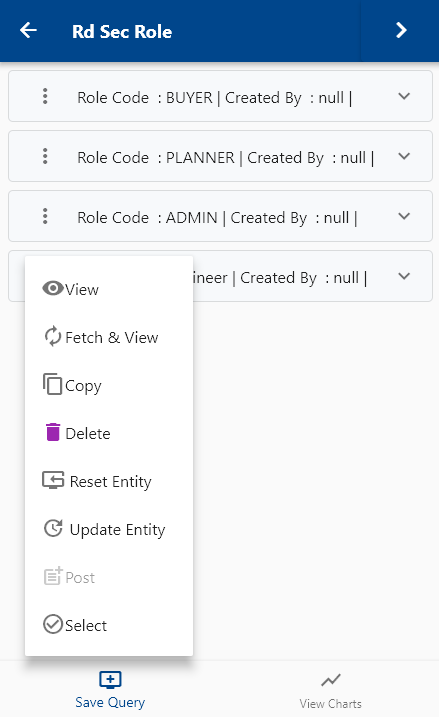
To copy a role, click on the copy button on the search result screen.
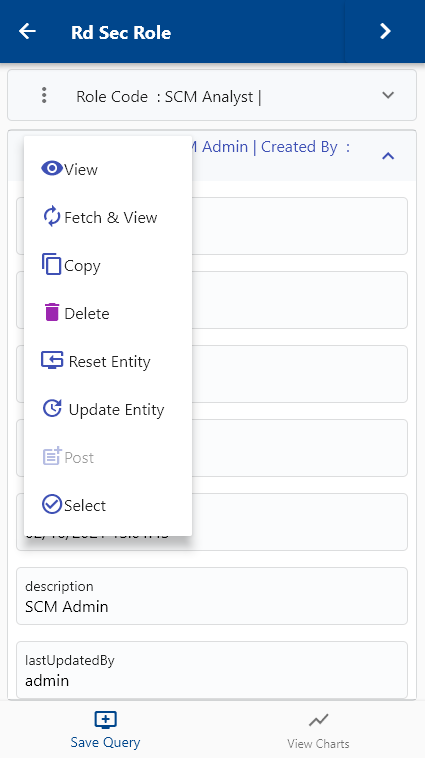
The app will copy all the details from the selected role and take you to the role form.
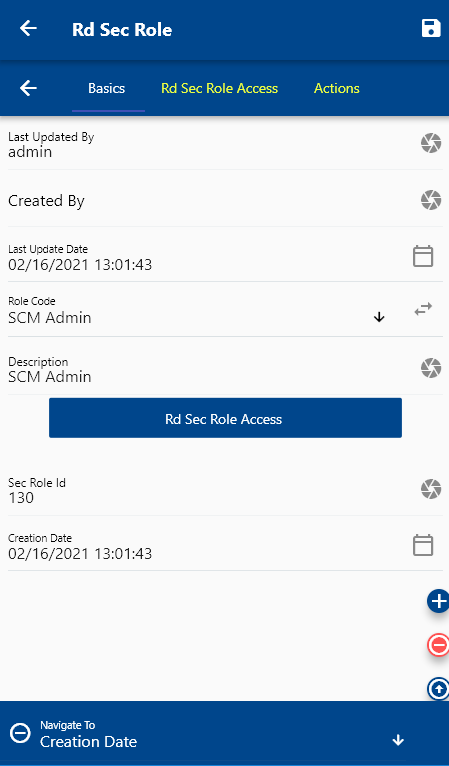
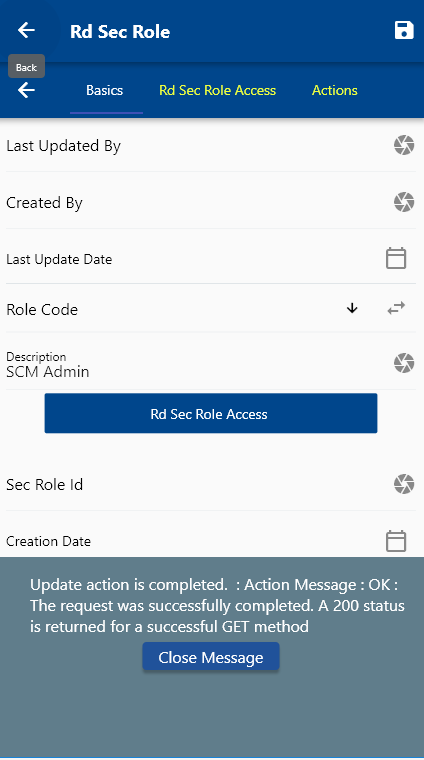
Review the details and make modifications as required. Click on the Save button at the top right corner to save the role.
List Of Values (LOV)
LOVs are used for several purposes in EBS Rest Application.
Ex: We can create a list of values for different inventory organization combinations to control which user can access data for a given organization. Suppose we have 20 different inventory organizations: 001, 002, 003.....020. As per the business requirement, a user (user_01) should have access to 3 inventory organizations (001, 005, 012) in Europe. So, we will create a LOV header as INV_EU and assign 3 LOV lines for 001, 005, and 012. And then, we will assign the INV_EU LOV to the user's INV access-group LOV.
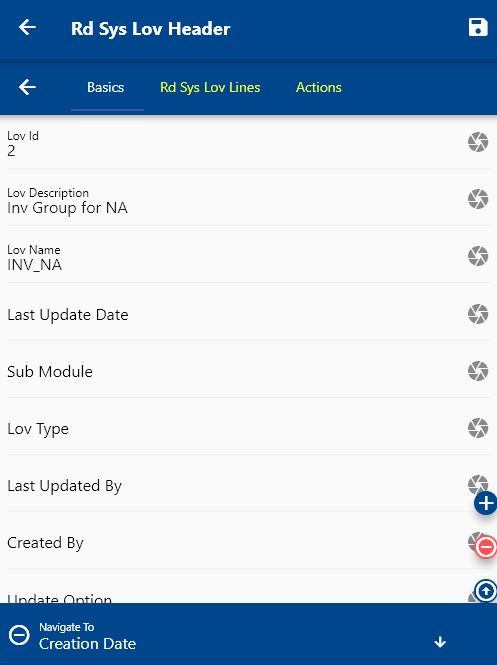
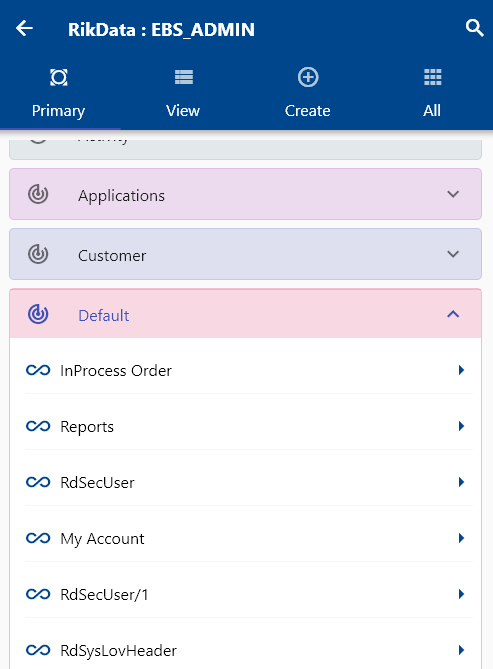
To view/create/update a list of values, navigate the list of values screen from your favorite/dashboard.
Enter a value in any of the search fields and click on the search button.
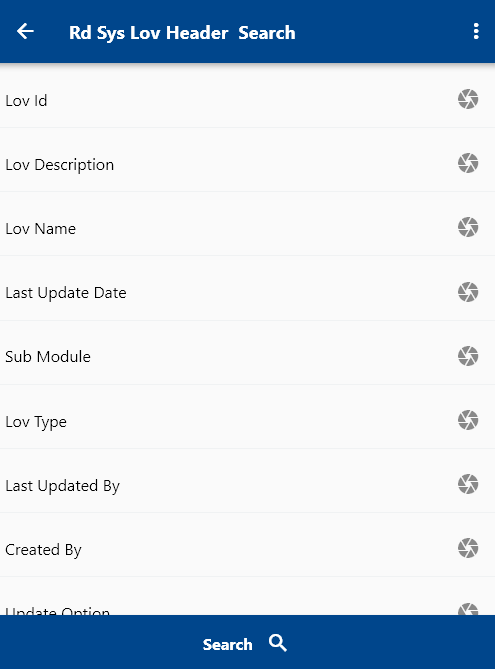
The app will fetch the data from the server and will take you to the search result screen.
You can select the result format - table or list - before clicking on the search button.
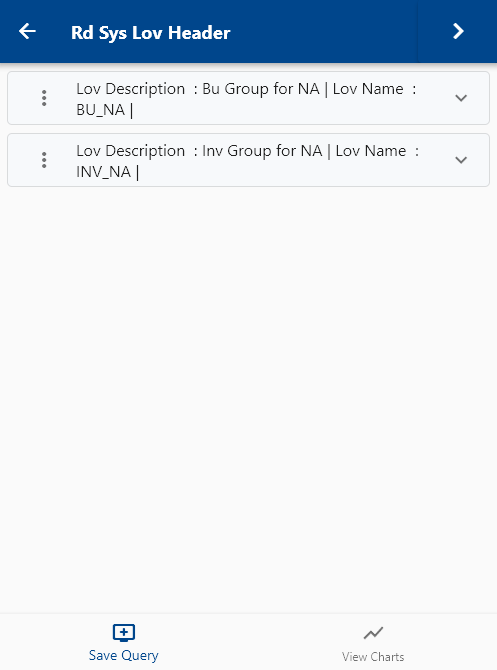
Click on View / Fetch-View to view and update the details of a LOV.
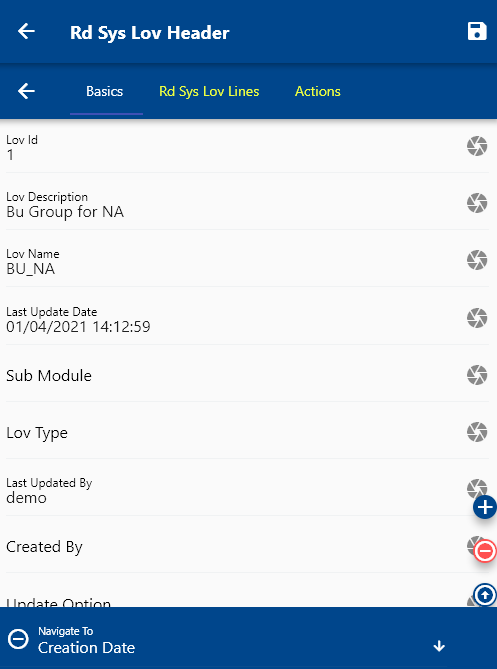
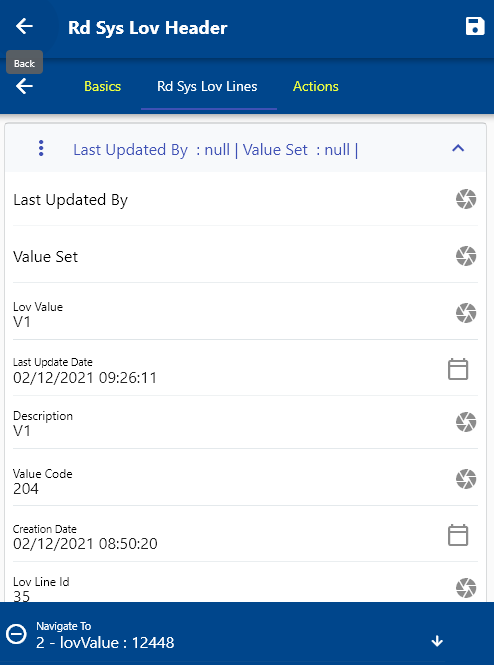
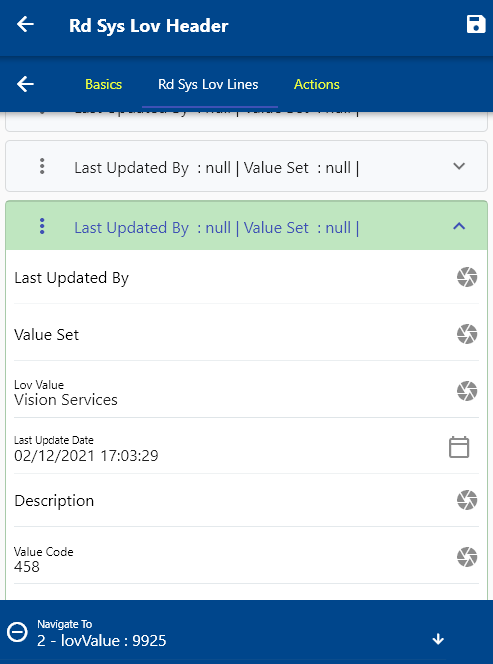
Scroll right to view the list of value lines. Click on the expand button to view the details of a LOV line.
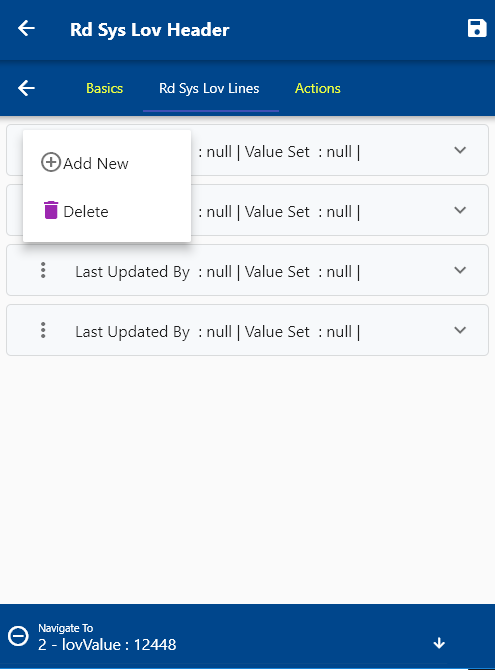
To add a new LOV line, click on the add button.
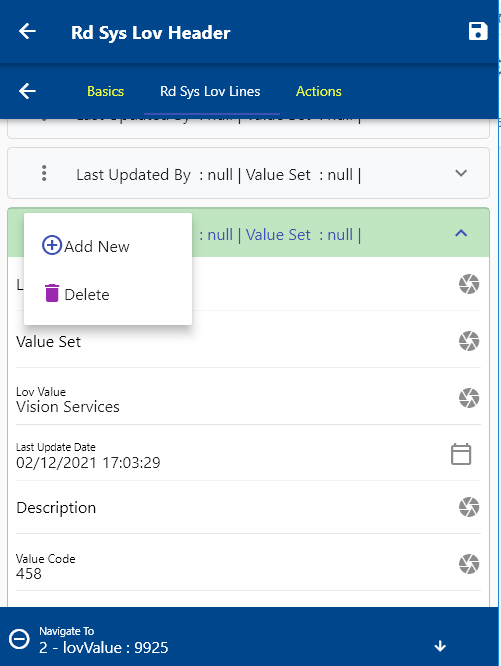

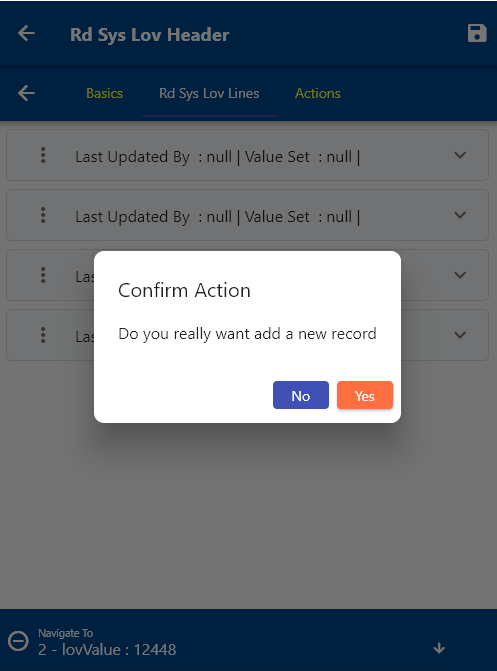
Click on yes on the confirmation message box.
The app will copy all the selected LOV line details and create a new LOV line.
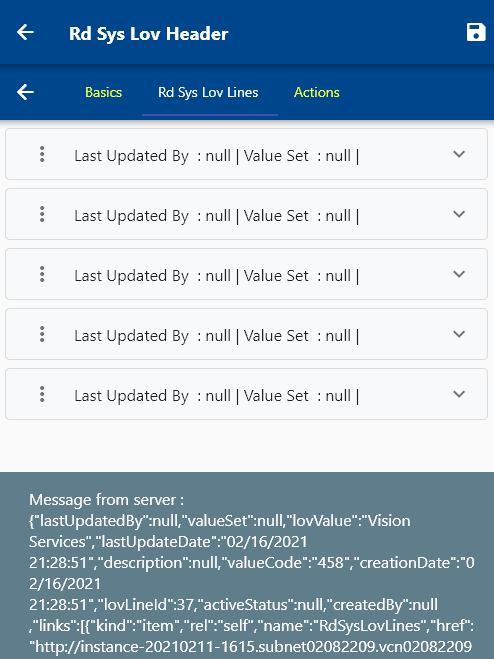
You can change the LOV line details and click on the save button to save the changes.
Now, the new LOV value will be available on the user screen.
You can follow the same steps to create an inventory organization LOV.